Tuesday, April 20, 2010

It would be rude not to...

...make recipe cards with these AMAZING papers!!

Morning everyone,

I am totally in love with the Cosmo Cricket Early Bird range, one of the paper ranges included in this month's kit. So, I decided to make some little folders containing recipe cards for all my favourite recipes...

Every single item on this first one (apart from Distress Inks in Brushed Cordoroy and Shabby Shutters) are from this months kit. I love the felt flowers and large blue American Crafts brads.. they are so versatile.
Take two... similar design but on this one I added a couple of Prima flowers and gem from my stash...
And here are some of the recipe cards I made to go inside...
This one was a great way to use up all my scraps in a collage style design...
I just love the corrugated card included in the kit...

On this one I cut out a flower from the papers and used my Martha Stewart rose leaf punch to make some co-ordinating leaves...

Well that's it for today, I hope you like it!
Hugs,
Katie xx

Monday, April 19, 2010

Sew Cute!!!!

Hey everyone,

It's Monday again (really??) and time for another post from me! It's 1.30am here but I am on call with the hospital all day and night Monday sew may not get a chance to post during daylight hours if we get busy!! Anyway, this week I have another layout to share. The picture is of my sister Sarah when she was about 3 or 4 years old. Sew Cute!!!........


The papers I used from the kit this week are my favourite!! I had so much fun cutting out ALL of my embellishments from the design papers with the exception of the title letters, lace from the kit and a button from the kit. I turned a strip from a sheet of borders into a cute little flower...........


And loved making a banner by adding some cute little cut out dresses to some thin red ribbon.....


I also cut some of the vintage figures from the paper and jazzed them up with some coloured marker pens. Cut out flowers give some finishing touches.....


I really hope you like my project this week!! I had so much fun making it. And guess what you guys? I still have a TONNE left!! Check out www.craftyalley.com and buy yours today.

Louise xx
www.myhuckleberryfinn.blogspot.com

Friday, April 16, 2010

Mini Album for my Daughter

Cover

Hi Everyone! I'm so excited to share with you the mini album that I created for my little girl. I gave you a little sneak peak on my website the other day, and couldn't wait for Friday to come so that I could show you the whole "shebang." My daughter, Suzanne, LOVES to sew! She would sew all day if I would let her. Most of the time she just makes up projects on her own and then comes out to surprise us with what she's created. She comes up with some of the most adorable little things - mostly clothing for her stuffed animals and dolls (she's 11).


As soon as I saw what Cathy had put together for the April kit; which uses the Material Girl Range from Cosmo Cricket, I knew we had to put together a mini album of her sewing projects. So keeping that in mind, I kept everything very basic and simple for her, as she is going to be the one filling it up. We had a lot of fun going through the kit as she picked out the papers and elements that she wanted to use, then began the fun of putting it all together. Hope you enjoy seeing it.

(If you'd like to see what comes in the kit, you can do so here available only through the Crafty Alley Shop. It's not just a kit with papers for those who sew! It's a very versatile kit, and as you'll see over the course of the month, the Design Team has created a lot of various types of projects with our kits.)

Hope you have a blessed weekend!

Hugs,
❦ Robyn

Thursday, April 15, 2010

Have you entered the first challenge yet?

Good Morning!!

Well I am finally home and thoroughly enjoying this lovely weather! Now I'm home I have now got my hands on my April Kit, and I love it!! Have you got yours yet? If not, hurry!!

You also have until Sunday to enter the first Crafty Alley challenge - if you haven't done it yet, here is some more inspiration. There is a 10EURO voucher up for grabs.

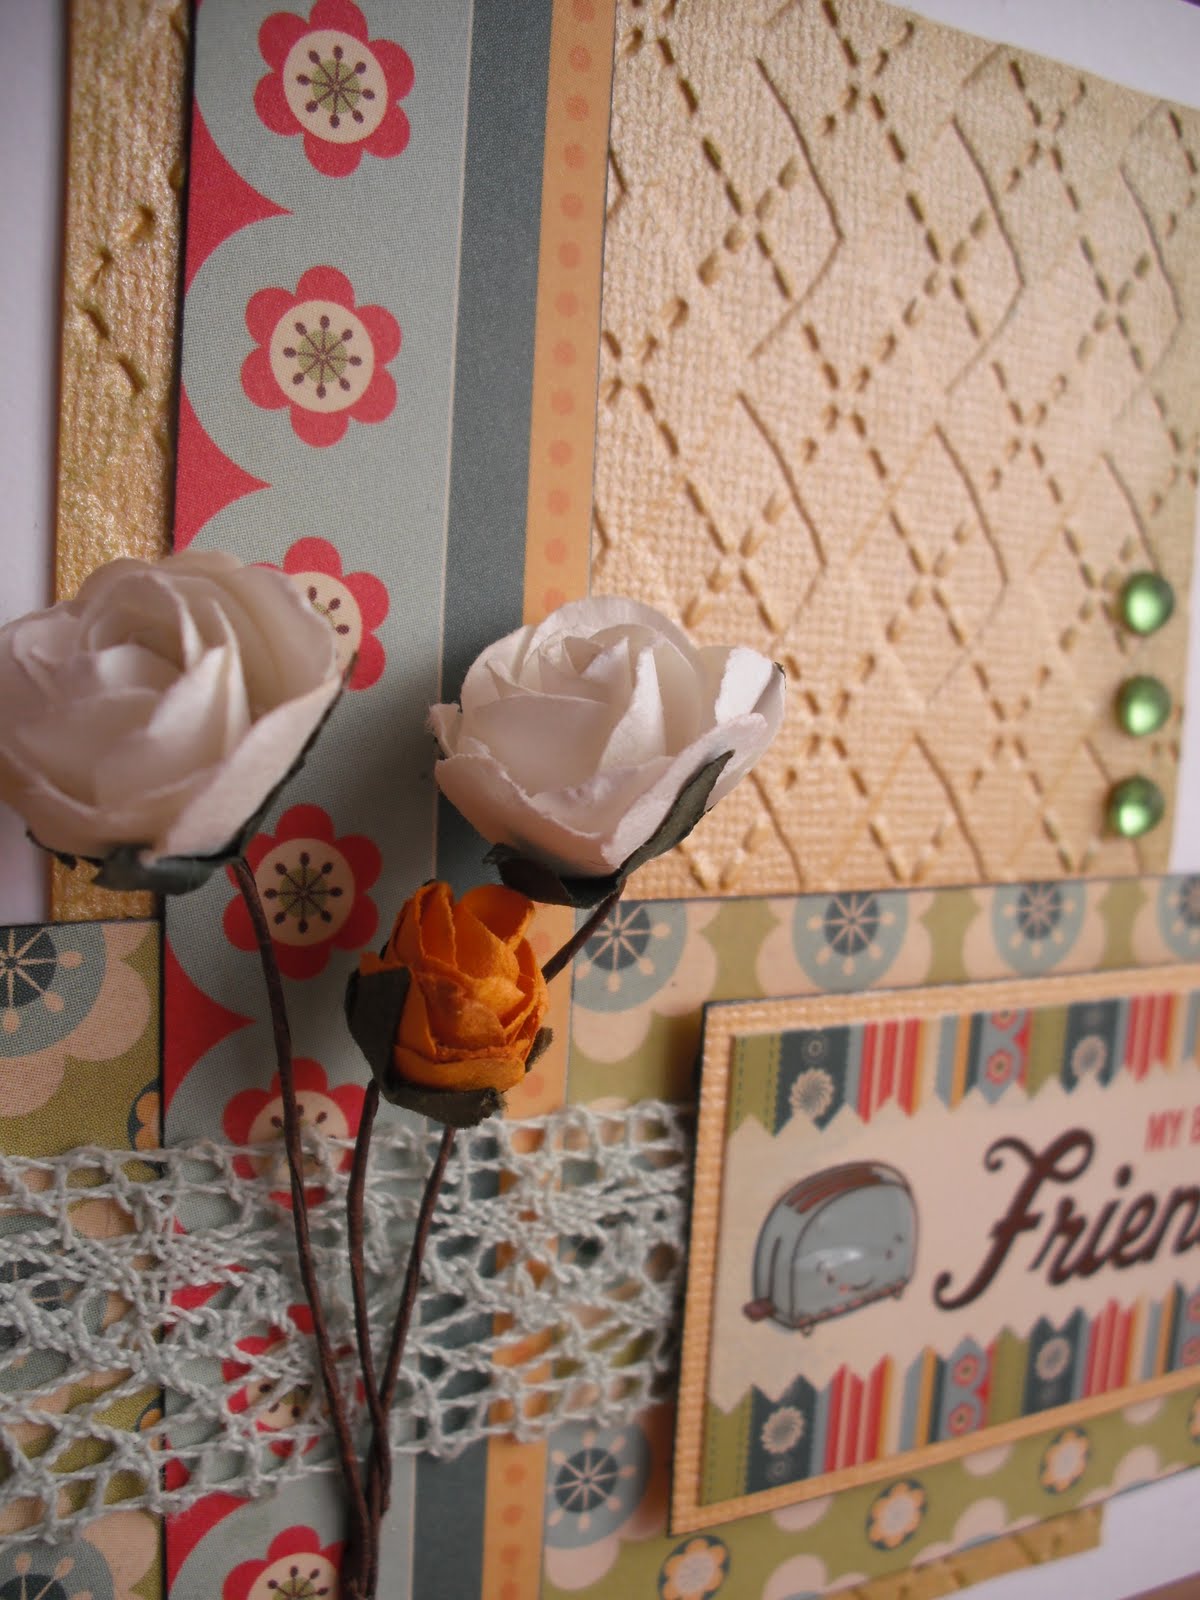
This is a card made using items from the April kit (Bazzil card, Cosmo Cricket Early Bird papers and stickers, bling, chalks, flowers and lace). I have embossed the yellow Bazzil card with a faux stitching design in keeping with Robyn's challenge! I also used Distress Ink in Shabby Shutters, and the chalks from the kit on the yellow card, blending it around the edges.


Have a lovely day,
Katie xx


Wednesday, April 14, 2010

Technique Wednesday!!!

Hey guys,

It's that time of the week where we share with you a technique that we love to use. If you haven't guessed already, mine is distressing!! I hope you like the video :-)


Louise xxx
www.myhuckleberryfinn.blogspot.com

Ps...sorry about the bad lighting as this was done really late at night!!

Tuesday, April 13, 2010

Truly Scrumptious Tuesday

image

Hi there and thanks for stopping by today. Well it's my turn to do a little posting on here, so I thought that I'd show you two cards that I've made using the gorgeous goodies from the April DT Kit. Don't forget that you can purchase them from here but you'd better be quick, as there's only a few left

DSCF8167

This is the first card that I'd like to show you. The DP, corrugated/orange cardstock, yellow gingham ribbon, flowers and pearl-ended pins are all from the April Kit.

image

For the edges I've gone over them using Adirondack Acrylic Paint Dabber - Gold that I got from the Crafty Alley.

image

And here's a close up of the gorgeous flowers that was in the April kit along with the yellow gingham ribbon and pearl-ended pins.

DSCF8201

And here's the second card that I'd like to show you using another of the gorgeous DP from the Kit. I've also used the gorgeous lace ribbon that was in the Kit

image

Here's a close up of the gorgeous ribbon and the DP. I've inked up the edges using the chalks that was in the Kit. To achieve the look around the image, I first stamped using clear embossing ink and then gone over it with the chalks that was in the Kit.

Robyn has done a fantastic tutorial on how to achieve this look, it's just a couple of posts down, click HERE go there now.

Don't forget to pop back here tomorrow, as the lovely and talented Louise will have a technique video for you.

Enjoy the rest of your day

Hugs Michele xxxxx

Monday, April 12, 2010

Happy Monday!!

Hey everyone,

It's monday again and time for another post from me! This week I have a 12 x 12 layout to share that features a tonne of distressing!! I love to distress EVERYTHING!! It's an addiction :-). The layout was made entirely out of Aprils Crafty Alley Kit with the exception of adhesive. See how packed it is?? And guess what? I still have about 80% of it left in week two!!! Ok so here is my layout.....


The Early Bird papers have a cooking theme. I was going to scrap something I had baked but then thought the papers would be perfect to scrap my dog Oscar.....


He eats ANYTHING!! And never turns down my cooking, even when it goes wrong.


See how versatile the papers are? I really heart them! And this months embellishments are really cute too. These brads are large enough to stamp on and adding one of the buttons to the wool flower gives the project a finishing touch.....


I hope you like my layout!! The design/sketch for this layout is my own so feel free to use it in one of your own projects. Stay tuned on Wednesday as there will be a technique video from me and it may involve.... you guessed it..... distressing!!! Yaye!!!

Louise xx

Ps... did you enter Robyn's challenge yet?
Pps.... Did you try to grab that awesome blog candy from Cathy????

Friday, April 9, 2010

Stamping with Chalks (using April kit supplies)


Stamping with Chalks

Tutorial created using April Monthly kit supplies available here.

If you would like to download a pdf document of this tutorial, click here. (Download may begin automatically).

For today’s tutorial, I have a pretty basic technique – perhaps even to be called at the “Beginner level.” Maybe it will be a reminder to you to dust off your chalks, or if you are new to stamping, perhaps it will inspire you. So many times when we first begin down the road of paper crafting we find there is just SO much out there. Of course, we’d love to own it all, but our budgets may not allow for it.

I wanted to create this tutorial to share an idea that you can do using chalks and an embossing ink such as Ranger Distress Embossing ink, or VersaMark. Chalks are a lot more affordable than ink pads and you can usually purchase them in sets or color families giving you a lot of color choices with little investment.

So take out your favorite stamps, some embossing ink, and some chalks and lets get creating!

I happen to own a lot of chalks, as I enjoy creating with them, but for this tutorial, I’m going to use the set of chalks that came with my April kit from the Crafty Alley Kit Club.


Step #1
Ink up your stamp with your embossing ink.


Step #2
Stamp image on to your cardstock.


Step #3

Add chalk to your dauber, cotton ball, or finger tip.


Step #4

Pounce chalk over ink (you can vary the effect by apply several different colors of chalk).


Step #5

Use a brush to remove excess chalk using a light sweeping motion. Chalk will adhere well to the embossing ink, so your image will be fine.


Step #6

You can vary the stamps you use and combine different images. I am using small images to add to my journaling spot and will repeat the steps above using the other colors of chalk from the set.


(Sorry about the poor quality of lighting in my room for this tutorial, my lighting depends a lot upon the weather outside).


Step #7 - Decorate


The supplies used to decorate my tag are from the April kit. I used the ribbons and fibers at the top, and added one of the scissors buttons as a charm. I then added a charm that I made from glass beads. I attached them using the wire stems from the paper flowers in the kit. I had removed the blossoms for use in another project. I slipped the stems through the beads and used them like you would jewelry gauge wire by twisting them to form a loop at the top and bottom of each bead. I then added some recycled jump rings from some jewelry that I had taken apart.

The orange flower was created using the orange cardstock from the kit; which I die cut using a Tim Holtz Tattered Floral Alterations die. I added the lace trim and daisy trim from the kit along the bottom and added a half backed pearl to the flower center.


I truly hope that this tutorial has been helpful for you. This technique makes lovely cards, and accents to scrapbook pages, I just happened to be creating a journaling tag for a mini album that I’m creating for my little girl. If you have any questions, please only ask, I’m happy to be of help.

Hugs,
❀ Robyn xx


"What's For Dinner?" Layout


Are you enjoying Spring weather as well? I think Spring has finally arrived here in Co Kerry; at least my garden thinks so. My veggie plants are really growing with the sunshine we've been having the past couple of days. Sooo happy to *hopefully* have the winter weather behind us!

Just a pre-intro to my post: Our family enjoyed a lot of company at our house this past week. When I say "a lot" I mean a lot. :c) It's been SO much fun though. My daughter Kendalle and I prepared 132 plates of food at our home over a 6-day period. So, we've enjoyed lots of laughs and a lot of new memories as well. Okay, so all that to help explain the layout that I have for you today. I wanted to create a scrapbook page of one of the groups we had for dinner the other evening. My hubby says he thinks that I "thrive serving a big crowd!" I'm not sure about that...I sure couldn't have done it without my sweet little daughters!


In the midst of recovering from it all, I was having fun playing with my Crafty Alley kit (April) and came up with this 12x12 layout. I am really enjoying all of the great products in the kit!


All of the papers and embellies (except Primas) are from this month's Crafty Alley Kit Club available here. The unique flower was created using the green linen A4 paper, ribbon, papers, and a brad from the kit.

The layout also goes along with the challenge (SEWING!) on this Crafty Alley DT blog here. I've used machine stitching on many of the paper embellies, mats, and borders.

One of my favourite colours is yellow, for some reason, it just makes me smile. :c) Perhaps because it brings a small bit of instant "sunshine!" ✲ This is the Bling cardstock by Bazzil from the kit.


Don't forget to play along with the current DT challenge: sewing! You have one week left to be entered in the draw for a €10 voucher to the Crafty Alley Shop. You can view the DT Challenge here.

Haven't the other DT members been creating gorgeous projects?! I loved Michelle's card and Louise's fun stitched journal cover! Katie is away until Monday, so will look forward to seeing what she comes up with as well once she home to her kit. Didn't you love her beautiful card and album? I was hoping she'd give us a peak at the rest of the album. :c)

Until next time,
❦ Robyn xx

--------------------------------------

Sharing a smiley:
"There are no mistakes, just opportunity for embellishments."

Thursday, April 8, 2010

A quick project to share with you today

Hi all,

Well as some of you know I am still away at the moment and am having a fab time!! I'm super busy though so have just popped on to share something with you today.

As I'm away I haven't got my hands on my Crafty Alley Kit yet - but I can't wait to start creating with it ! Have you got yours yet? If not - be quick!

This is a book that I made from scratch last week. We threw a Bridal Shower for my friend, and during the shower, we set up a little crafting station, and during the course of the evening, every lady there made and decorated a page with either her best recipe, or piece of household/marital advice. We then popped all the pages into this book I made!

I made it using old cardboard backing pages from pads, and bound 36 pages into it. I then decorated it - it took a very long time but I was very happy with the result!!


I added lots of different ribbons, fibres, feathers, lace, buttons and charms...

I hope you like it!!
Katie xx