

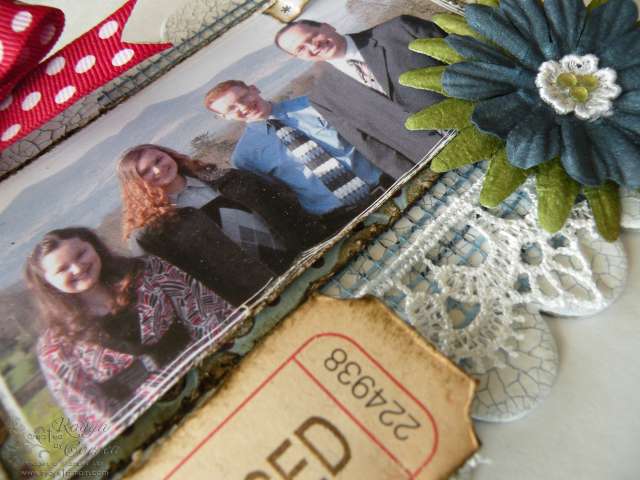

Here's what I used from the kit for this project:
Scalloped Chipboard Square/Rectangle
Magic Mesh
2 Prima Flowers
Vintage Finding Patterned Paper (photo mat)
Ribbon
Gems
Hinge Clip
Garment Pin
Tag
Crafty Hugs,
Robyn xx

Hi there everyone and thanks for stopping by. Today I'd like to show you a little project that I've made using items from the gorgeous May Vintage Findings Kit.

Everything apart from the flowers and image I've used which is in the May Vintage Findings Kit. I'll put together a tutorial on how to make this cute little clipboard and post it on here in the next few days - so watch this space :0)
Enjoy the rest of your day.
Hugs Michele xx
 I'm not at home at the moment, I had to go unexpectedly to the UK so don't have access to all my usual equipment, so big thanks to Jo Brett for allowing me to use all your things! She has the pink Cuttlebug, isn't it cute??
Firstly, you will need to cut your paper pieces. Die-cut or punch 7 large flowers, 3 medium flowers, and 3 small flowers.
 Then, use your scissors to trim off the very ends of your petals to give a frilly look.
 With your 7 larger flowers, gradually cut off more and more of the petal to make the petal layers gradually reduce in size.
 Now, using whatever colour you like, paint the edges with watercolour paints. You could also use inks, or pens, or whatever you have. I just love watercolours :)
 You should now have something like this. On the smallest flowers, I also painted some yellow and green into the centres.
 When they are dry, it's time to add some body to the petals. For this, I have used a hair grip! But you could use whatever you like. I thread each petal into the grip, and twist.
 This makes each layer look a bit like this:
 When they are all completed, you should have something like this:
 Now, layer up your pieces and glue into place, and you're done!!


Hi there everyone and thanks for stopping by. Today I'd like to show you a card that I've made using items from the gorgeous May Vintage Findings Kit.

Everything listed below is what I've used on this card is from the May Vintage Findings Kit:-
If you would like to see what other gorgeous items are in this kit, please click here.
Enjoy the rest of your weekend
Hugs Michele x
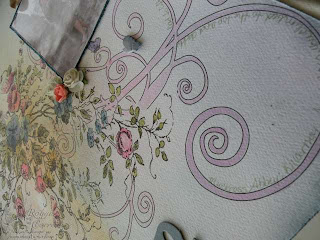
 I used the scallopped chipboard piece, covered it in one of the patterned papers and inked the edges. Embellishment wise, I used the Prima flower, lace, butterfly ribbon and gems from the kit, and the decorative panel is from the elements page, backed on to the plain Bazzil cardstock.
 I used my Windsor and Newton bottled inks to add some colour to the centre of the Prima flower, and also to dye the butterfly crimson. I also stamped a flower image in Brushed Cordoroy Distress Ink and coloured the edges with the same crimson ink.
 It looks tres cute on the back of my craft room door!!




 Posts
All Comments
Posts
All Comments


